Importing Receipts
Getting your receipts into Apocha is the first step to financial clarity. Choose the import method that fits your workflow.
Import Methods at a Glance
| Method | Best For | Speed | Effort |
|---|---|---|---|
| File Upload | Paper receipts, PDF invoices | Fast | Low |
| CSV Import | Bank statements, bulk data | Fast | Medium |
| Email Import | Digital receipts (Amazon, utilities) | Automatic | Setup once |
Quick Start: Which Method Should I Use?
I have paper receipts
Use File Upload. Snap a photo with your phone or scan the receipt. Apocha's OCR extracts all the details automatically.
I want to import my bank statement
Use CSV Import. Download your transactions as CSV from your bank's website, then map the columns to Apocha fields.
I get receipts by email (Amazon, subscriptions, etc.)
Set up Email Import. Once configured, receipts arrive automatically - no manual work needed.
I just need to enter one transaction quickly
Skip import entirely - create a receipt manually. It's faster for single entries.
Upload Limits
Your subscription determines how many receipts you can import per month via file upload:
| Plan | Monthly Uploads |
|---|---|
| Standard (Free) | 10 |
| PLUS | 50 |
| PREMIUM | 250 |
Creating receipts manually or importing your bank transactions from a CSV file doesn't count against your upload limit. Great for when you've used your monthly uploads or prefer typing over photographing.
What Gets Extracted
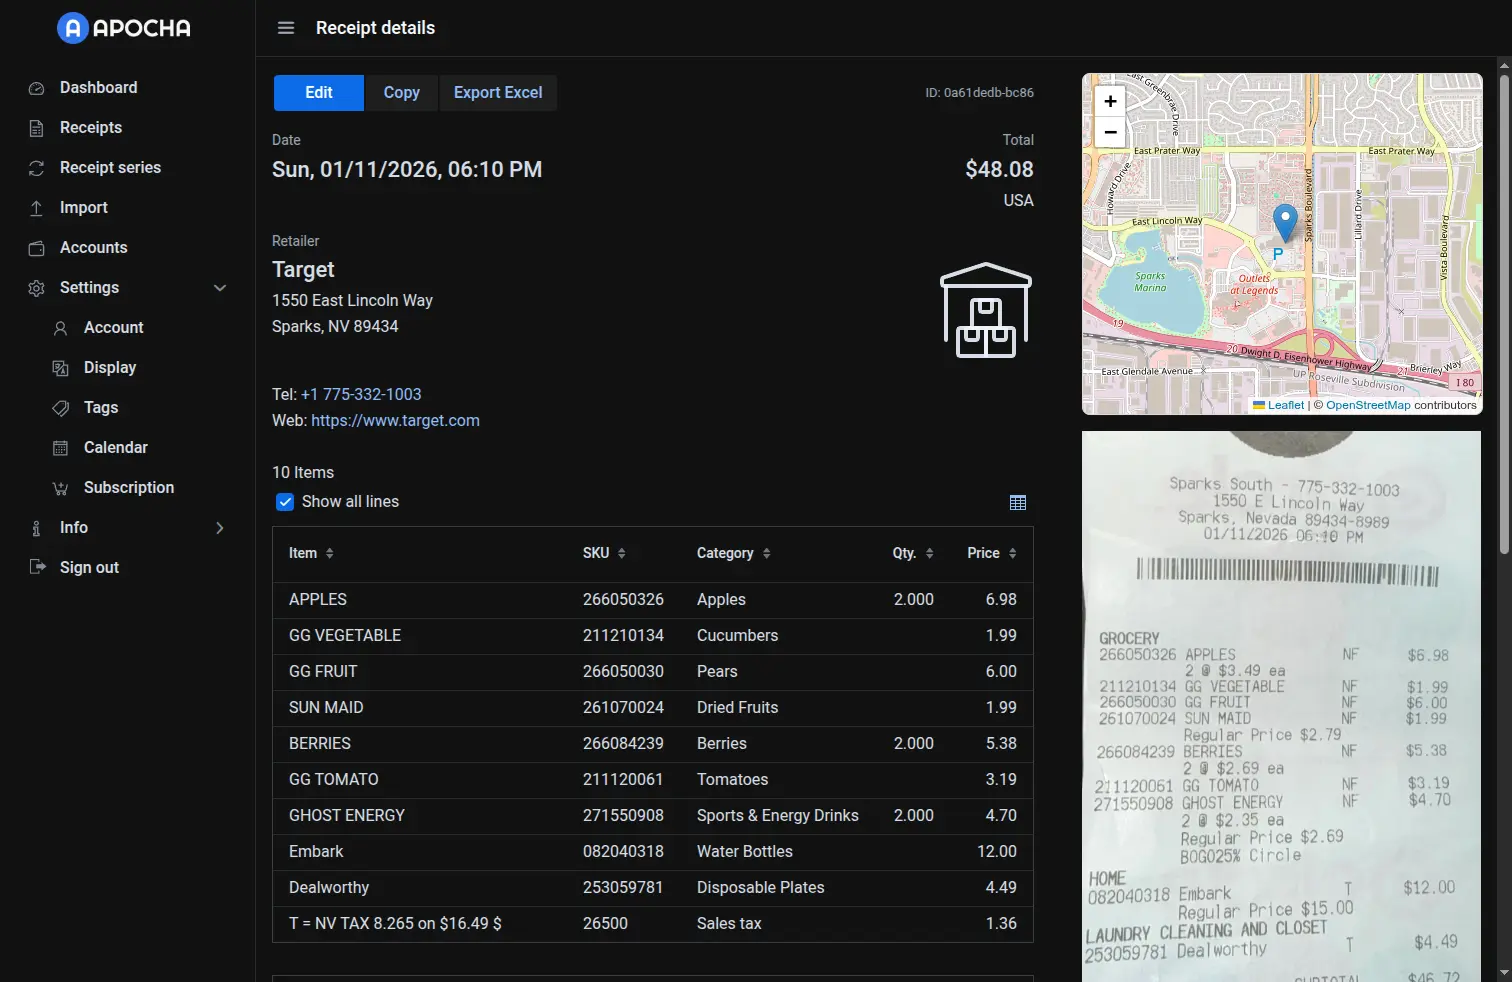
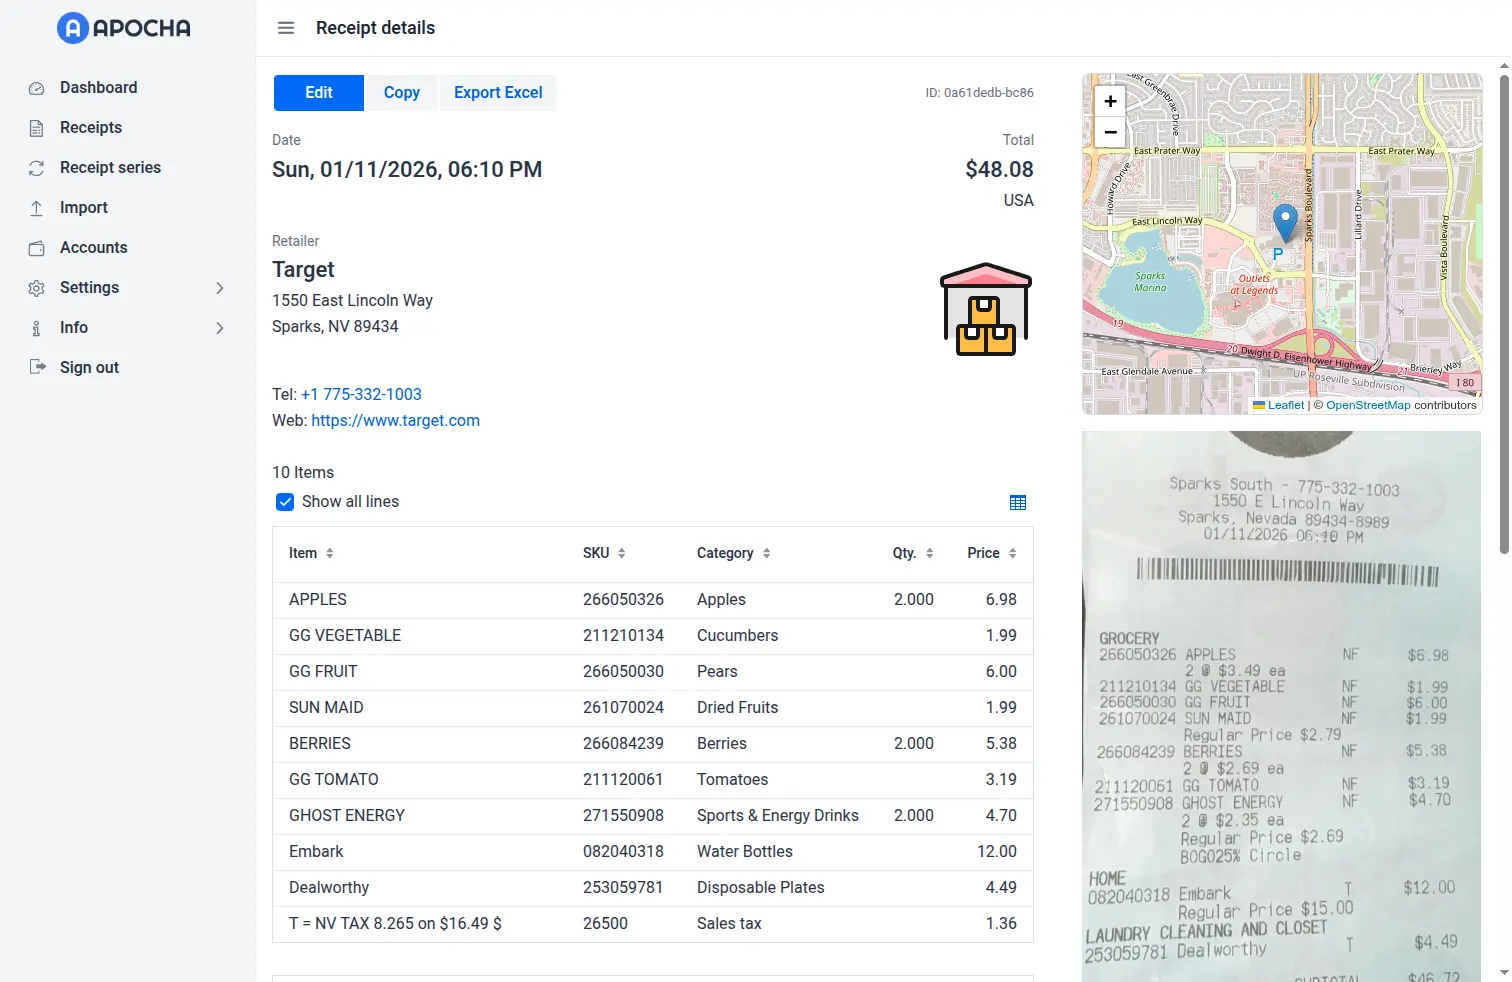
When you upload a receipt image or PDF, Apocha automatically extracts:
- Date - When the purchase happened
- Store name - The merchant
- Total amount - What you paid
- Line items - Individual products (when readable)
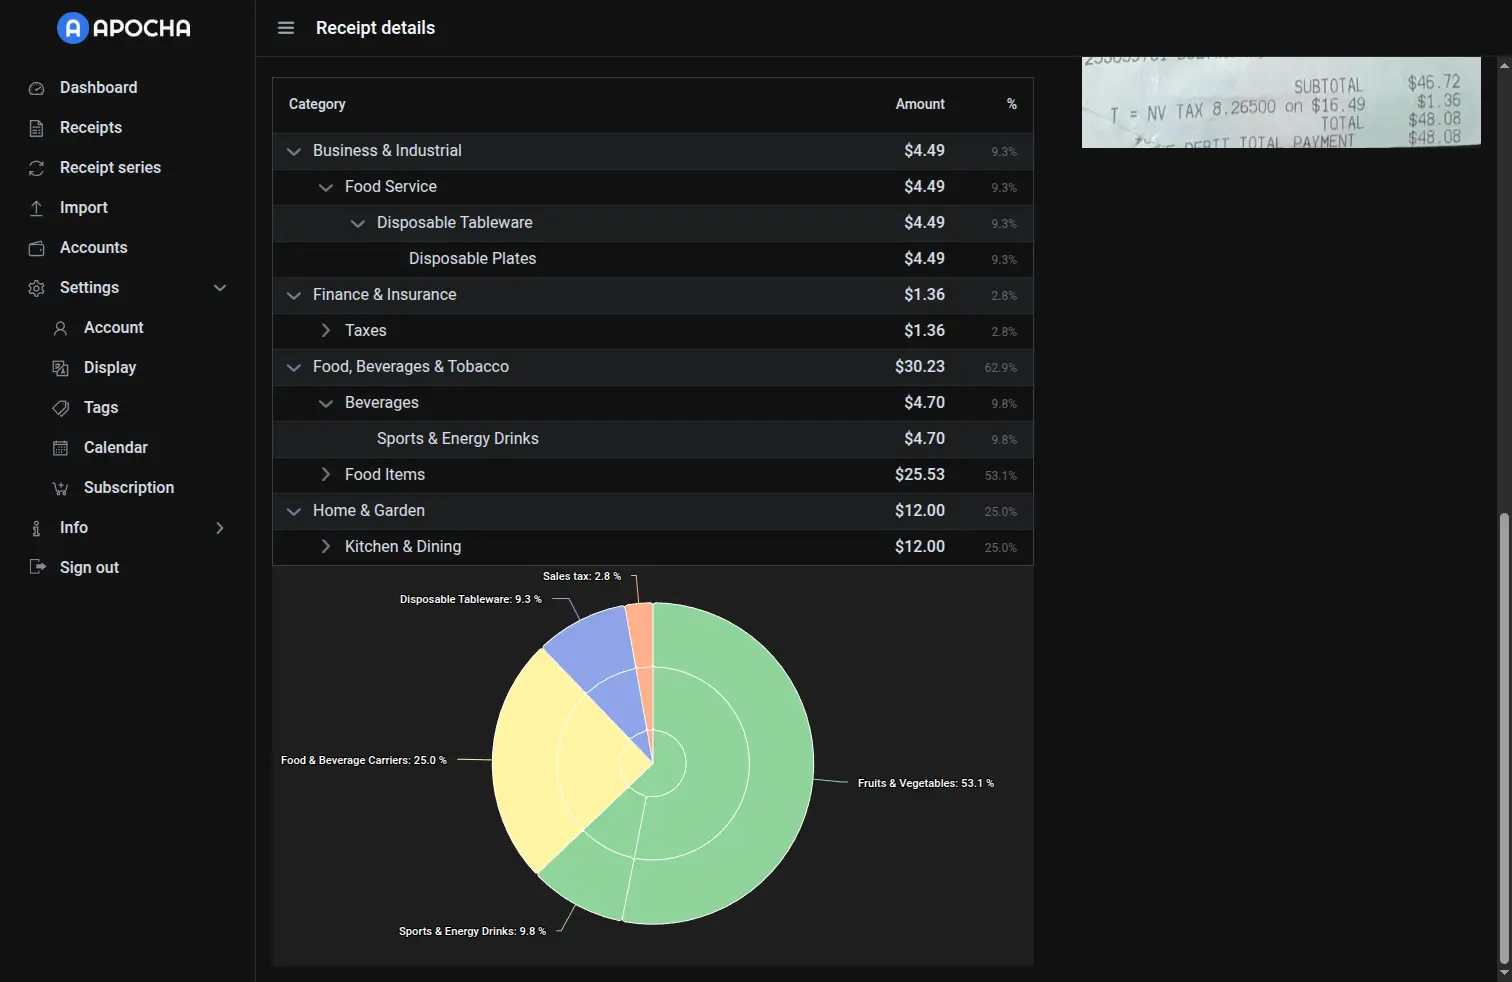
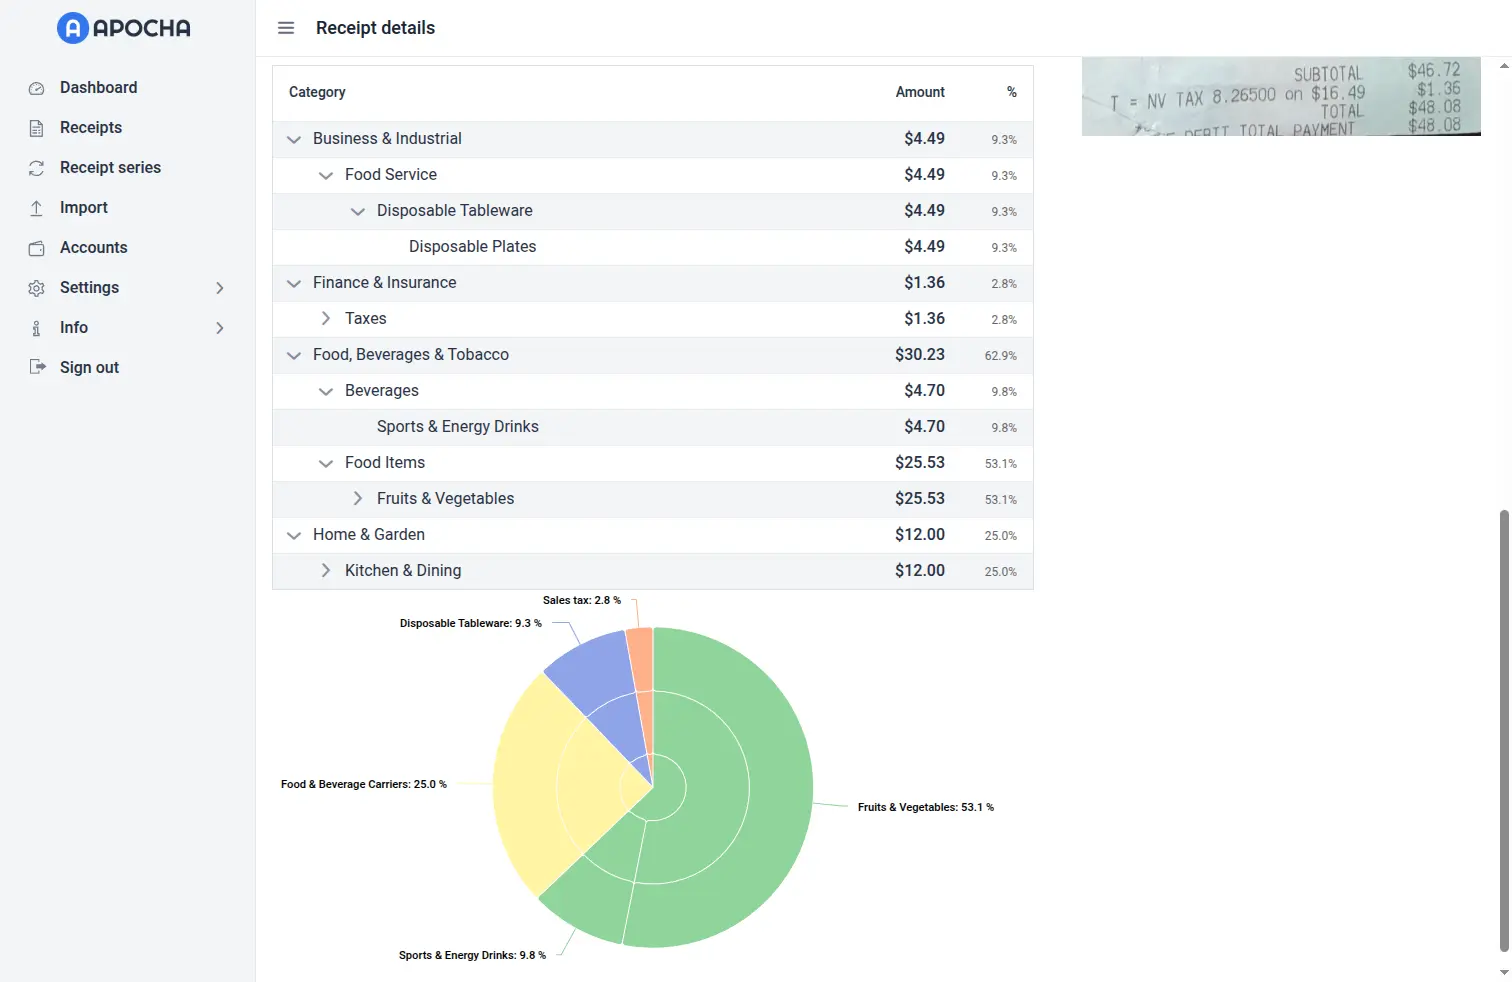
- Categories - Automatically assigned based on store and items
- Store location - Address and map pin (when available)
Data extraction
Data categorization
Tips for Best Results
- Good lighting - Avoid shadows on paper receipts
- Full receipt - Capture the entire document, including totals
- Flat surface - Smooth out folds and wrinkles
- Clear focus - Blurry photos = poor OCR results
Next Steps
Choose your import method and get started:
- File Upload - Upload photos and PDFs
- CSV Import - Import bank statements
- Email Import - Set up automatic forwarding
Part of the Receipt Management guide series.